设置管理模块
设置管理模块实现了 ISettingStore (参阅 设置系统) 将设置值存储在数据库中, 并提供 ISettingManager 管理 (更改) 数据库中设置值的功能.
启动模板默认安装并配置了设置管理模块. 大部分情况下你不需要手动的添加该到模块到应用程序中.
ISettingManager
ISettingManager 用于获取和设定设置值. 示例:
using System;using System.Threading.Tasks;using Volo.Abp.DependencyInjection;using Volo.Abp.SettingManagement;namespace Demo{public class MyService : ITransientDependency{private readonly ISettingManager _settingManager;//Inject ISettingManager servicepublic MyService(ISettingManager settingManager){_settingManager = settingManager;}public async Task FooAsync(){Guid user1Id = ...;Guid tenant1Id = ...;//Get/set a setting value for the current user or the specified userstring layoutType1 =await _settingManager.GetOrNullForCurrentUserAsync("App.UI.LayoutType");string layoutType2 =await _settingManager.GetOrNullForUserAsync("App.UI.LayoutType", user1Id);await _settingManager.SetForCurrentUserAsync("App.UI.LayoutType", "LeftMenu");await _settingManager.SetForUserAsync(user1Id, "App.UI.LayoutType", "LeftMenu");//Get/set a setting value for the current tenant or the specified tenantstring layoutType3 =await _settingManager.GetOrNullForCurrentTenantAsync("App.UI.LayoutType");string layoutType4 =await _settingManager.GetOrNullForTenantAsync("App.UI.LayoutType", tenant1Id);await _settingManager.SetForCurrentTenantAsync("App.UI.LayoutType", "LeftMenu");await _settingManager.SetForTenantAsync(tenant1Id, "App.UI.LayoutType", "LeftMenu");//Get/set a global and default setting valuestring layoutType5 =await _settingManager.GetOrNullGlobalAsync("App.UI.LayoutType");string layoutType6 =await _settingManager.GetOrNullDefaultAsync("App.UI.LayoutType");await _settingManager.SetGlobalAsync("App.UI.LayoutType", "TopMenu");}}}
你可以从不同的设置值提供程序中(默认,全局,用户,租户…等)中获取或设定设置值.
如果只需要读取设置值,建议使用
ISettingProvider而不是ISettingManager,因为它实现了缓存并支持所有部署场景. 如果要创建设置管理UI,可以使用ISettingManager.
Setting Cache
设置值缓存在 分布式缓存 系统中. 建议始终使用 ISettingManager 更改设置值.
Setting Management Providers
设置管理模块是可扩展的,像设置系统一样. 你可以通过自定义设置管理提供程序进行扩展. 有5个预构建的设置管理程序程序按以下顺序注册:
DefaultValueSettingManagementProvider: 从设置定义的默认值中获取值,由于默认值是硬编码在设置定义上的,所以无法更改默认值.ConfigurationSettingManagementProvider:从 IConfiguration 服务中获取值. 由于无法在运行时更改配置值,所以无法更改配置值.GlobalSettingManagementProvider: 获取或设定设置的全局 (系统范围)值.TenantSettingManagementProvider: 获取或设定租户的设置值.UserSettingManagementProvider: 获取或设定用户的设置值.
ISettingManager 在 get/set 方法中使用设置管理提供程序. 通常每个设置程序提供程序都在 ISettingManagement 服务上定义了模块方法 (比如用户设置管理程序提供定义了 SetForUserAsync 方法).
Setting Management UI.
设置管理模块默认提供了邮件设置页面并且它是可扩展的; 你可以为你的应用程序设置添加设置标签到设置页面.
MVC UI
创建视图组件
在 Components 目录下创建 MySettingGroup 文件夹, 添加一个名为 MySettingGroupViewComponent 的视图组件:
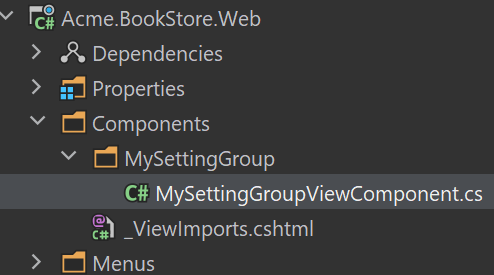
打开 MySettingGroupViewComponent.cs 替换为以下内容:
public class MySettingGroupViewComponent : AbpViewComponent{public virtual IViewComponentResult Invoke(){return View("~/Components/MySettingGroup/Default.cshtml");}}
你还可以使用
InvokeAsync方法,在这个示例中我们使用Invoke方法.
Default.cshtml
在 MySettingGroup 目录下创建 Default.cshtml 文件.
打开 Default.cshtml 替换为以下内容:
<div><p>My setting group page</p></div>
BookStoreSettingPageContributor
在 Settings 目录下创建 BookStoreSettingPageContributor.cs 文件.
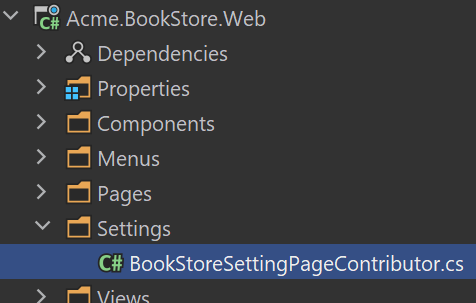
文件内容如下:
public class BookStoreSettingPageContributor : ISettingPageContributor{public Task ConfigureAsync(SettingPageCreationContext context){context.Groups.Add(new SettingPageGroup("Volo.Abp.MySettingGroup","MySettingGroup",typeof(MySettingGroupViewComponent)));return Task.CompletedTask;}public Task<bool> CheckPermissionsAsync(SettingPageCreationContext context){// You can check the permissions herereturn Task.FromResult(true);}}
打开 BookStoreWebModule.cs 文件添加以下代码:
Configure<SettingManagementPageOptions>(options =>{options.Contributors.Add(new BookStoreSettingPageContributor());});
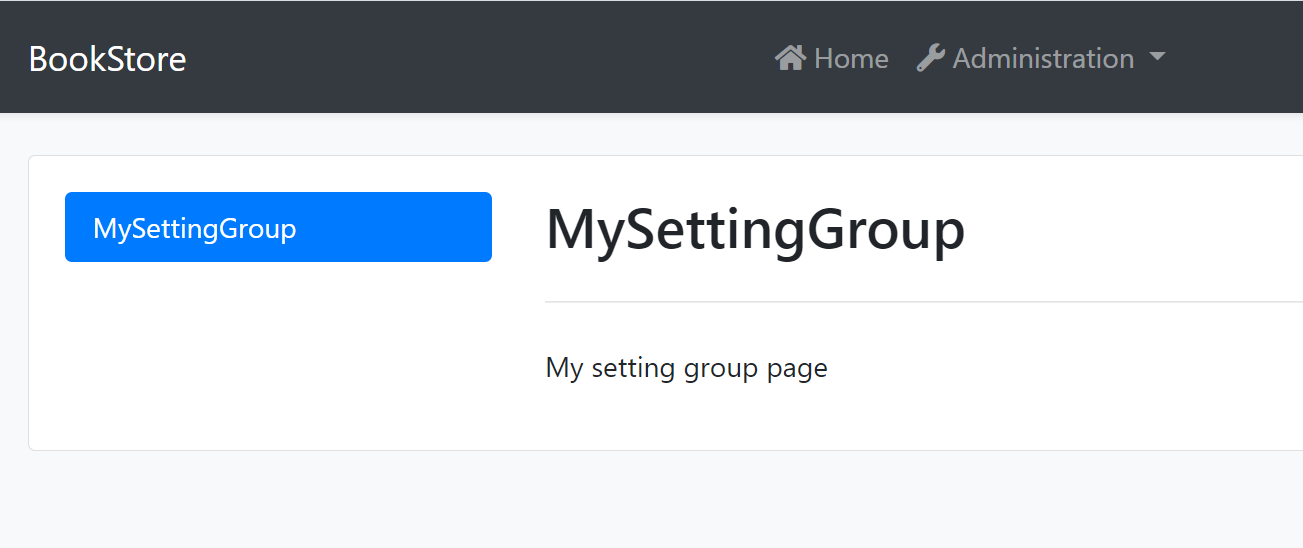
运行应用程序
导航到 /SettingManagement 路由查看更改:
Blazor UI
创建 Razor 组件
在 Pages 目录下创建 MySettingGroup 文件夹, 添加一个名为 MySettingGroupComponent 的Razor组件:
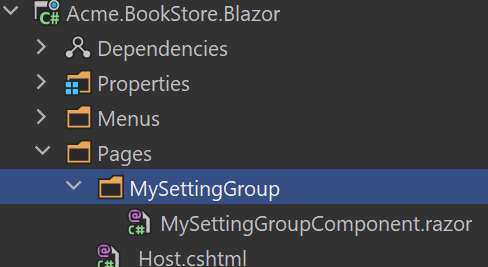
打开 MySettingGroupComponent.razor 替换为以下内容:
<Row><p>my setting group</p></Row>
BookStoreSettingComponentContributor
在 Settings 目录下创建 BookStoreSettingComponentContributor.cs 文件.
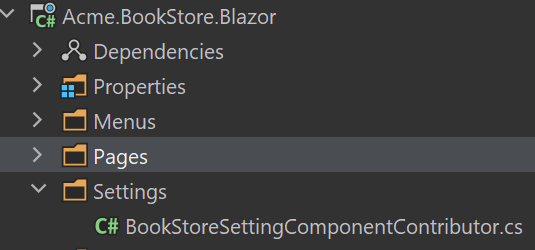
文件内容如下:
public class BookStoreSettingComponentContributor : ISettingComponentContributor{public Task ConfigureAsync(SettingComponentCreationContext context){context.Groups.Add(new SettingComponentGroup("Volo.Abp.MySettingGroup","MySettingGroup",typeof(MySettingGroupComponent)));return Task.CompletedTask;}public Task<bool> CheckPermissionsAsync(SettingComponentCreationContext context){// You can check the permissions herereturn Task.FromResult(true);}}
打开 BookStoreBlazorModule.cs 文件添加以下代码:
Configure<SettingManagementComponentOptions>(options =>{options.Contributors.Add(new BookStoreSettingComponentContributor());});
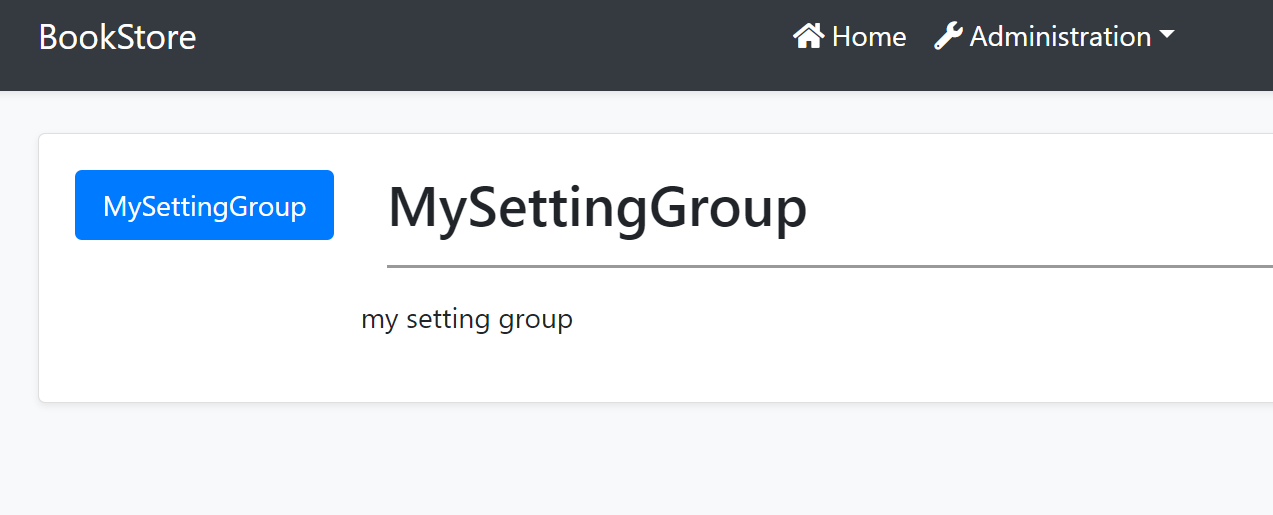
运行应用程序
导航到 /setting-management 路由查看更改:
Angular UI
不同的模块提供它们的设置选项卡. 你可以通过3个步骤在项目中自定义设置页面.
创建组件
使用以下命令创建一个组件
yarn ng generate component my-settings
打开 app.component.ts 做以下修改:
import { Component } from '@angular/core';import { SettingTabsService } from '@abp/ng.setting-management/config'; // imported SettingTabsServiceimport { MySettingsComponent } from './my-settings/my-settings.component'; // imported MySettingsComponent@Component(/* component metadata */)export class AppComponent {constructor(private settingTabs: SettingTabsService) // injected MySettingsComponent{// added belowsettingTabs.add([{name: 'MySettings',order: 1,requiredPolicy: 'policy key here',component: MySettingsComponent,},]);}}
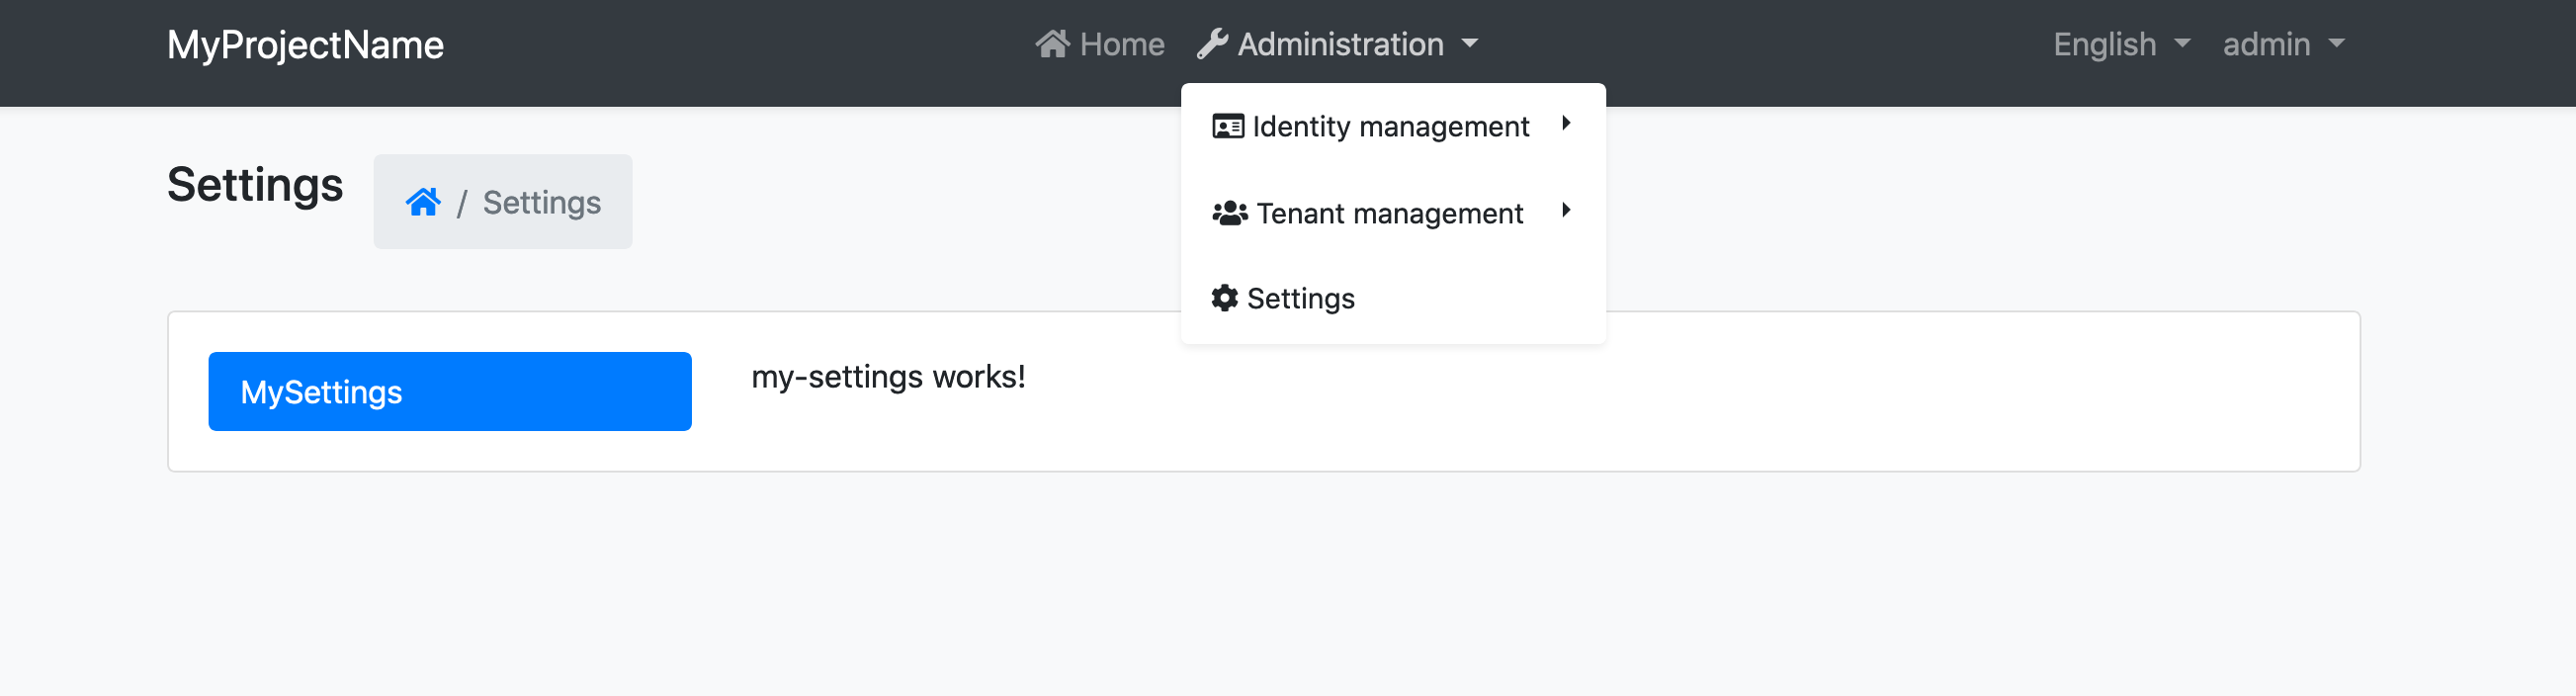
运行应用程序
导航到 /setting-management 路由你会看到以下变化: