顶点
参考
模式
物体模式
面板
属性编辑器(Properties) ‣ 物体(Object) ‣ 实例化(Instancing)
实例顶点 允许在父级物体每个顶点的位置复制子级物体。
Note
父级和子级物体的关联 物体原点 位置决定了实例化几何体与父级顶点的偏移。
对齐到顶点法线
根据父级网格的相应顶点法线来旋转实例化物体。
选择子级物体,然后在 物体(Object) ‣ 关系(Relations) 面板中改变 跟踪轴(Tracking Axes) ,可改变实例化物体的方向的轴向。
有两种建模情形需要用到实例化顶点。它们可以当作排列工具使用,允许模拟物体的几何排列(例如希腊神殿的石柱、公园里的树、机器人军队、教室里的课桌等)。这些物体可以是blender所支持的任何物体类型。第二种方法是使用它们从物体的一个部分开始对物体进行建模(例如狼牙棒上的刺、海胆上的刺、墙上的瓷砖、花瓣)。
Note
下载示例blend文件
你可以在此页下载示例文件。在 这个blend 中,第一个例子,一只猴子父级关联到了层1的圆环, 一个触手父级关联到了层2的一个棱角球。
用法
实例化顶点来作为排列管理工具
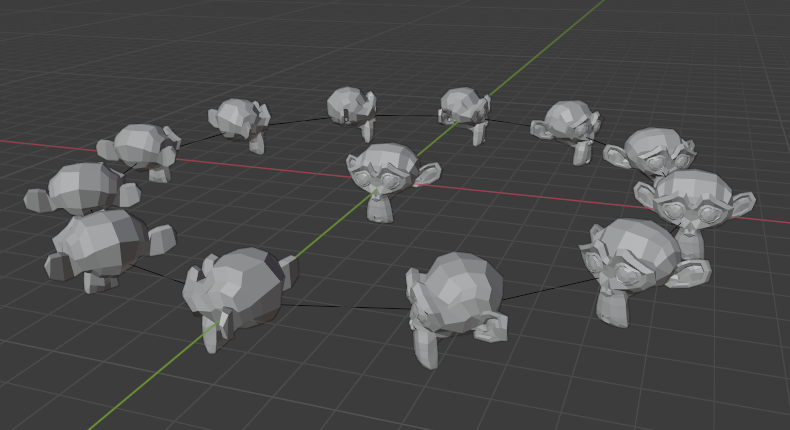
你需要一个基本物体(例如 树 或者 罗马柱)和一个你想要的形状的样式网格。在此情景,我们将使用一个简单场景来演示。我们将使用位置在坐标原点的猴头作为基本物体,以及一个处在同一位置的圆环作为父级网格。
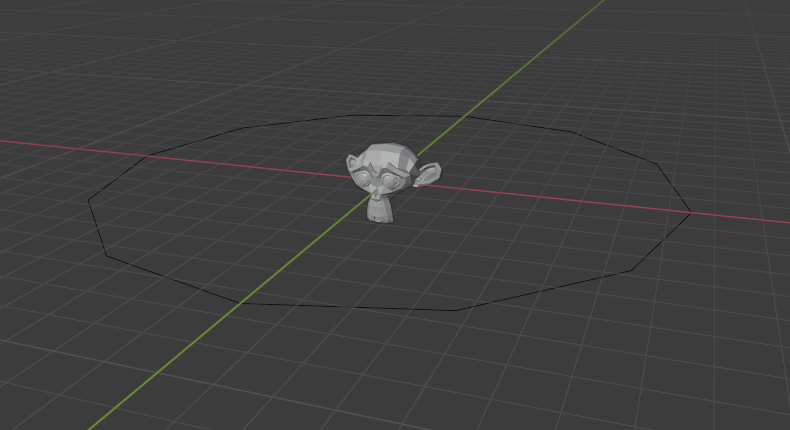 一个猴头和一个圆环。 | 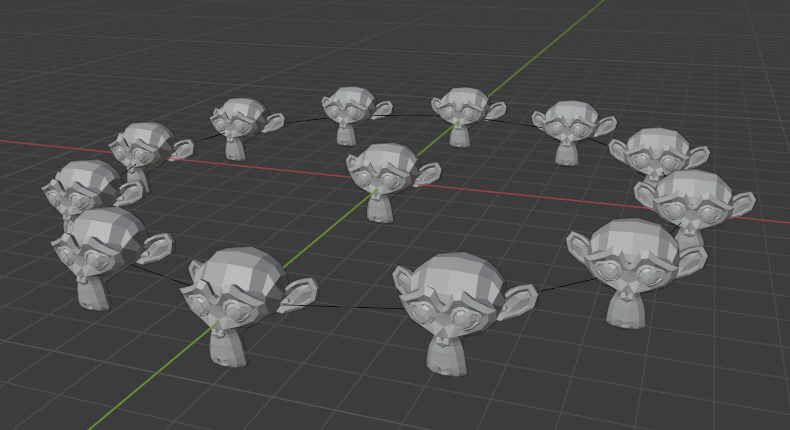 在顶点上实例化猴子。 |
First, in Object Mode, select the base object and Shift-LMB to add the circle to the selection (order is very important here), and Ctrl-P or Object ‣ Parent ‣ Object to parent the base object to the circle. Now, the circle is the parent of the monkey; if you move the circle, the monkey will follow it.
仅选择圆环,开启 实例化顶点 ;圆环的每个顶点将被对应的一个猴头替代。
The original monkey head at the center and the parent mesh are still shown in the 3D Viewport but neither will be rendered. If the placement and rotation of your monkey head are odd, you might need to clear its rotation Alt-R, scale Alt-S, location Alt-G, and origin Object ‣ Clear ‣ Origin.
重新排列
如果在物体模式或编辑模式选择基本物体并修改它,所有改动将影响到所有实例化物体的形状。你也可以选择父级网格来修改实例物体的排列;增加父级物体顶点也会导致新增实例物体。
请注意,在物体模式下,而不是在编辑模式下,基础物体将继承对父级网格所做的更改。 因此,在物体模式下缩放圆环将放大猴头,而在编辑模式下缩放圆环只会增大基础物体之间的距离。
方向
可以通过开启 实例化 面板中的 对齐到顶点法线 来控制基本物体的方向。所有基本物体的旋转将取决于父级物体网格的顶点法线方向。
To change the orientation of the instanced objects, select the base object and in the Object ‣ Relations panel change the Tracking Axes.
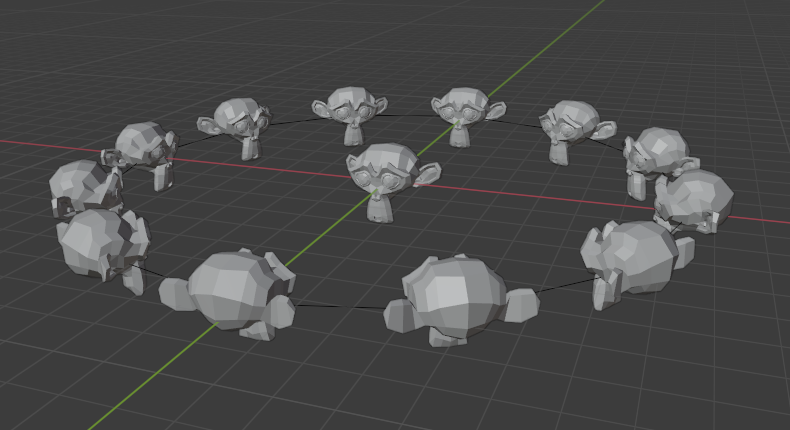 开启方向,方向为+Y。 | 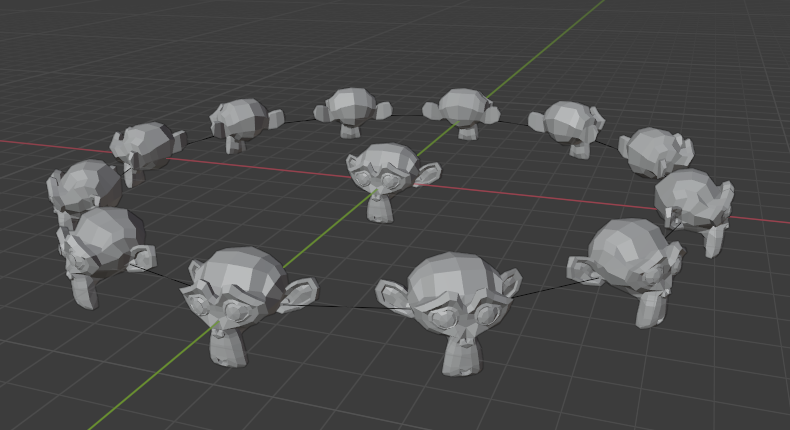 -Y。 |
 +X. |  -Z,X朝上。 |
Note
物体轴向显示开关可以在 属性编辑器(Properties) ‣ 物体(Object) ‣ 视图显示(Viewport Display) 面板中找到。要显示父级网格的顶点法线,进入 编辑模式 并点亮右上角的 视图叠加(Viewport Overlays) ‣ 法向(Normals) 顶点法向图标,同时你也可以将显示的法线修改成合适的大小。
实例化顶点当作建模工具
可以用 实例化顶点 和一个标准预设物体构建一些很有趣的模型。例如,一个简单的用立方体挤出的触手。此触手物体被设置父级为一个棱角球。当父级网格棱角球开启 对齐到顶点法线 ,基础物体触手的方向就会自适应父级网格的顶点法线方向(在示例场景中触手已在编辑模式中绕X轴向旋转了 -90° )。
 一条简单的触手设置为平滑着色。 | 父级网格上充满了实例化的触手。 | 对齐到顶点法向 开启后用于对齐实例化的几何体。 |
在前面的例子中,排列的形状和比例现在可以微调了。
To turn all instanced geometry into real objects, select the icosphere and Object ‣ Apply ‣ Make Instances Real, Ctrl-A. To make the icosphere and the tentacle a single object, make sure they are all selected and go to Object ‣ Join, Ctrl-J.
See also
Other duplication methods are listed here.