Getting Started with Ambient Mesh
Ambient is currently in alpha status.
Please do not run ambient in production and be sure to thoroughly review the feature phase definitions before use. In particular, there are known performance, stability, and security issues in the alpha release. There are also planned breaking changes, including some that will prevent upgrades. These are all limitations that will be addressed before graduation to beta.
This guide lets you quickly evaluate Istio ambient service mesh. These steps require you to have a cluster running a supported version of Kubernetes (1.24, 1.25, 1.26, 1.27). You can use any supported platform, for example Minikube or others specified by the platform-specific setup instructions.
Follow these steps to get started with ambient:
- Download and install
- Deploy the sample application
- Adding your application to ambient
- Secure application access
- Control traffic
- Uninstall
Download and install
Download the latest version of Istio with
alphasupport for ambient mesh.If you don’t have a Kubernetes cluster, you can deploy one locally using
kindwith the following command:$ kind create cluster --config=- <<EOFkind: ClusterapiVersion: kind.x-k8s.io/v1alpha4name: ambientnodes:- role: control-plane- role: worker- role: workerEOF
Install Kubernetes Gateway CRDs, which don’t come installed by default on most Kubernetes clusters:
$ kubectl get crd gateways.gateway.networking.k8s.io &> /dev/null || \{ kubectl kustomize "github.com/kubernetes-sigs/gateway-api/config/crd/experimental?ref=v0.6.1" | kubectl apply -f -; }
Istio includes beta support for the Kubernetes Gateway API and intends to make it the default API for traffic management in the future. The following instructions allow you to choose to use either the Gateway API or the Istio configuration API when configuring traffic management in the mesh. Follow instructions under either the
Gateway APIorIstio classictab, according to your preference.The
ambientprofile is designed to help you get started with ambient mesh. Install Istio with theambientprofile on your Kubernetes cluster, using theistioctlcommand downloaded above:
$ istioctl install --set profile=ambient --set components.ingressGateways[0].enabled=true --set components.ingressGateways[0].name=istio-ingressgateway --skip-confirmation
After running the above command, you’ll get the following output that indicates five components (including Ztunnel) have been installed successfully!
✔ Istio core installed✔ Istiod installed✔ CNI installed✔ Ingress gateways installed✔ Ztunnel installed✔ Installation complete
$ istioctl install --set profile=ambient --skip-confirmation
After running the above command, you’ll get the following output that indicates four components (including Ztunnel) have been installed successfully!
✔ Istio core installed✔ Istiod installed✔ CNI installed✔ Ztunnel installed✔ Installation complete
- Verify the installed components using the following commands:
$ kubectl get pods -n istio-systemNAME READY STATUS RESTARTS AGEistio-cni-node-n9tcd 1/1 Running 0 57sistio-ingressgateway-5b79b5bb88-897lp 1/1 Running 0 57sistiod-69d4d646cd-26cth 1/1 Running 0 67sztunnel-lr7lz 1/1 Running 0 69s
$ kubectl get daemonset -n istio-systemNAME DESIRED CURRENT READY UP-TO-DATE AVAILABLE NODE SELECTOR AGEistio-cni-node 1 1 1 1 1 kubernetes.io/os=linux 70sztunnel 1 1 1 1 1 <none> 82s
$ kubectl get pods -n istio-systemNAME READY STATUS RESTARTS AGEistio-cni-node-n9tcd 1/1 Running 0 57sistiod-69d4d646cd-26cth 1/1 Running 0 67sztunnel-lr7lz 1/1 Running 0 69s
$ kubectl get daemonset -n istio-systemNAME DESIRED CURRENT READY UP-TO-DATE AVAILABLE NODE SELECTOR AGEistio-cni-node 1 1 1 1 1 kubernetes.io/os=linux 70sztunnel 1 1 1 1 1 <none> 82s
Deploy the sample application
You’ll use the sample bookinfo application, which is part of the Istio distribution that you downloaded above. In ambient mode, you deploy applications to your Kubernetes cluster exactly the same way you would without Istio. This means that you can have your applications running in your cluster before you enable ambient mesh and have them join the mesh without needing to restart or reconfigure them.
Make sure the default namespace does not include the label istio-injection=enabled because when using ambient you do not want Istio to inject sidecars into the application pods.
Start the sample services:
$ kubectl apply -f @samples/bookinfo/platform/kube/bookinfo.yaml@
$ kubectl apply -f @samples/sleep/sleep.yaml@$ kubectl apply -f @samples/sleep/notsleep.yaml@
Note:
sleepandnotsleepare two simple applications that can serve as curl clients.Deploy an ingress gateway so you can access the bookinfo app from outside the cluster:
Create an Istio Gateway and VirtualService:
$ kubectl apply -f @samples/bookinfo/networking/bookinfo-gateway.yaml@
Set the environment variables for the Istio ingress gateway:
$ export GATEWAY_HOST=istio-ingressgateway.istio-system$ export GATEWAY_SERVICE_ACCOUNT=ns/istio-system/sa/istio-ingressgateway-service-account
Create a Kubernetes Gateway and HTTPRoute:
$ sed -e 's/from: Same/from: All/'\-e '/^ name: bookinfo-gateway/a\namespace: istio-system\' -e '/^ - name: bookinfo-gateway/a\namespace: istio-system\' @samples/bookinfo/gateway-api/bookinfo-gateway.yaml@ | kubectl apply -f -
Set the environment variables for the Kubernetes gateway:
$ kubectl wait --for=condition=programmed gtw/bookinfo-gateway -n istio-system$ export GATEWAY_HOST=bookinfo-gateway-istio.istio-system$ export GATEWAY_SERVICE_ACCOUNT=ns/istio-system/sa/bookinfo-gateway-istio
Test your bookinfo application, it should work with or without the gateway:
$ kubectl exec deploy/sleep -- curl -s "http://$GATEWAY_HOST/productpage" | grep -o "<title>.*</title>"<title>Simple Bookstore App</title>
$ kubectl exec deploy/sleep -- curl -s http://productpage:9080/ | grep -o "<title>.*</title>"<title>Simple Bookstore App</title>
$ kubectl exec deploy/notsleep -- curl -s http://productpage:9080/ | grep -o "<title>.*</title>"<title>Simple Bookstore App</title>
Adding your application to ambient
You can enable all pods in a given namespace to be part of the ambient mesh by simply labeling the namespace:
$ kubectl label namespace default istio.io/dataplane-mode=ambient
Congratulations! You have successfully added all pods in the default namespace to the ambient mesh. The best part is that there was no need to restart or redeploy anything!
Send some test traffic:
$ kubectl exec deploy/sleep -- curl -s "http://$GATEWAY_HOST/productpage" | grep -o "<title>.*</title>"<title>Simple Bookstore App</title>
$ kubectl exec deploy/sleep -- curl -s http://productpage:9080/ | grep -o "<title>.*</title>"<title>Simple Bookstore App</title>
$ kubectl exec deploy/notsleep -- curl -s http://productpage:9080/ | grep -o "<title>.*</title>"<title>Simple Bookstore App</title>
You’ll immediately gain mTLS communication and L4 telemetry among the applications in the ambient mesh. If you follow the instructions to install Prometheus and Kiali, you’ll be able to visualize your application in Kiali’s dashboard:
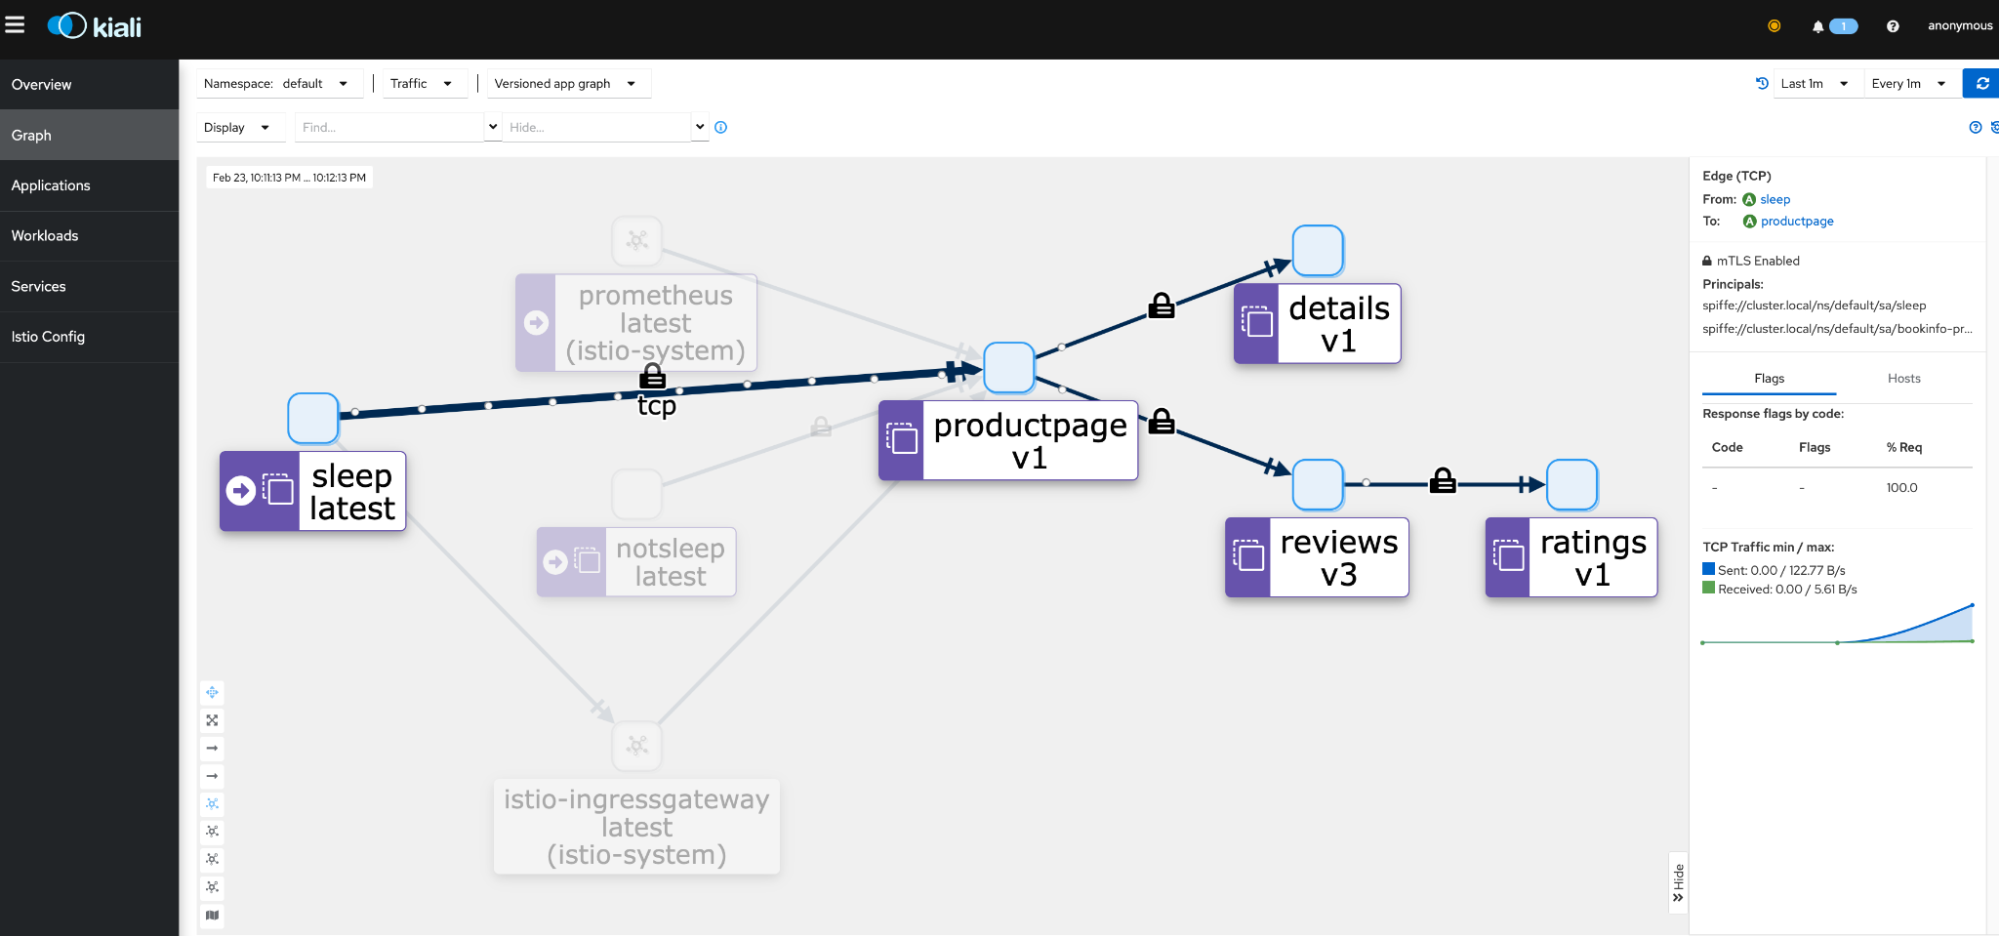
Kiali dashboard
Secure Application Access
After you have added your application to ambient mesh, you can secure application access using L4 authorization policies. This lets you control access to and from a service based on client workload identities, but not at the L7 level, such as HTTP methods like GET and POST.
L4 Authorization Policy
Explicitly allow the sleep and gateway service accounts to call the productpage service:
$ kubectl apply -f - <<EOFapiVersion: security.istio.io/v1beta1kind: AuthorizationPolicymetadata:name: productpage-viewernamespace: defaultspec:selector:matchLabels:app: productpageaction: ALLOWrules:- from:- source:principals:- cluster.local/ns/default/sa/sleep- cluster.local/$GATEWAY_SERVICE_ACCOUNTEOF
Confirm the above authorization policy is working:
$ # this should succeed$ kubectl exec deploy/sleep -- curl -s "http://$GATEWAY_HOST/productpage" | grep -o "<title>.*</title>"<title>Simple Bookstore App</title>
$ # this should succeed$ kubectl exec deploy/sleep -- curl -s http://productpage:9080/ | grep -o "<title>.*</title>"<title>Simple Bookstore App</title>
$ # this should fail with a connection reset error code 56$ kubectl exec deploy/notsleep -- curl -s http://productpage:9080/ | grep -o "<title>.*</title>"command terminated with exit code 56
L7 Authorization Policy
Using the Kubernetes Gateway API, you can deploy a waypoint proxy for the productpage service that uses the bookinfo-productpage service account. Any traffic going to the productpage service will be mediated, enforced and observed by the Layer 7 (L7) proxy.
Deploy a waypoint proxy for the productpage service:
$ istioctl x waypoint apply --service-account bookinfo-productpagewaypoint default/bookinfo-productpage applied
View the productpage waypoint proxy status; you should see the details of the gateway resource with Programmed status:
$ kubectl get gtw bookinfo-productpage -o yaml...status:conditions:- lastTransitionTime: "2023-02-24T03:22:43Z"message: Resource programmed, assigned to service(s) bookinfo-productpage-istio-waypoint.default.svc.cluster.local:15008observedGeneration: 1reason: Programmedstatus: "True"type: Programmed
Update our AuthorizationPolicy to explicitly allow the sleep and gateway service accounts to GET the productpage service, but perform no other operations:
$ kubectl apply -f - <<EOFapiVersion: security.istio.io/v1beta1kind: AuthorizationPolicymetadata:name: productpage-viewernamespace: defaultspec:selector:matchLabels:istio.io/gateway-name: bookinfo-productpageaction: ALLOWrules:- from:- source:principals:- cluster.local/ns/default/sa/sleep- cluster.local/$GATEWAY_SERVICE_ACCOUNTto:- operation:methods: ["GET"]EOF
$ # this should fail with an RBAC error because it is not a GET operation$ kubectl exec deploy/sleep -- curl -s "http://$GATEWAY_HOST/productpage" -X DELETERBAC: access denied
$ # this should fail with an RBAC error because the identity is not allowed$ kubectl exec deploy/notsleep -- curl -s http://productpage:9080/RBAC: access denied
$ # this should continue to work$ kubectl exec deploy/sleep -- curl -s http://productpage:9080/ | grep -o "<title>.*</title>"<title>Simple Bookstore App</title>
Control Traffic
Deploy a waypoint proxy for the review service, using the bookinfo-review service account, so that any traffic going to the review service will be mediated by the waypoint proxy.
$ istioctl x waypoint apply --service-account bookinfo-reviewswaypoint default/bookinfo-reviews applied
Configure traffic routing to send 90% of requests to reviews v1 and 10% to reviews v2:
$ kubectl apply -f @samples/bookinfo/networking/virtual-service-reviews-90-10.yaml@$ kubectl apply -f @samples/bookinfo/networking/destination-rule-reviews.yaml@
$ kubectl apply -f @samples/bookinfo/platform/kube/bookinfo-versions.yaml@$ kubectl apply -f @samples/bookinfo/gateway-api/route-reviews-90-10.yaml@
Confirm that roughly 10% of the traffic from 100 requests goes to reviews-v2:
$ kubectl exec deploy/sleep -- sh -c "for i in \$(seq 1 100); do curl -s http://$GATEWAY_HOST/productpage | grep reviews-v.-; done"
Uninstall
To remove the productpage-viewer authorization policy, waypoint proxies and uninstall Istio:
$ kubectl delete authorizationpolicy productpage-viewer$ istioctl x waypoint delete --service-account bookinfo-reviews$ istioctl x waypoint delete --service-account bookinfo-productpage$ istioctl uninstall -y --purge$ kubectl delete namespace istio-system
The label to instruct Istio to automatically include applications in the default namespace to ambient mesh is not removed by default. If no longer needed, use the following command to remove it:
$ kubectl label namespace default istio.io/dataplane-mode-
To delete the Bookinfo sample application and its configuration, see Bookinfo cleanup.
To remove the sleep and notsleep applications:
$ kubectl delete -f @samples/sleep/sleep.yaml@$ kubectl delete -f @samples/sleep/notsleep.yaml@
If you installed the Gateway API CRDs, remove them:
$ kubectl kustomize "github.com/kubernetes-sigs/gateway-api/config/crd/experimental?ref=v0.6.1" | kubectl delete -f -