使用顶点组
骨骼顶点组
这是权重绘制的主要功能。当骨骼移动时,关节顶点也应移动一部分,来模拟关节皮肤的拉伸。在关节顶点处使用 “轻” 权重(10 - 40%)绘制来使其在骨骼移动时进行轻微移动。虽然可以给骨架自动分配权重(参考 蒙皮 ),你也可以手动分配。要从头开始执行此操作,请参考以下过程。要修改自动分配的权重,请跳到中间过程:
创建骨架。
创建骨架移动时的形变网格。
With the mesh selected, create an Armature modifier for your mesh (located in the Properties, Modifiers tab). Enter the name of the armature.
修改自动分配权重从此处开始。
Select the armature in 3D Viewport, and bring the armature to Pose Mode with Ctrl-Tab, or the 3D Viewport header mode selector.
在骨架中选择目标骨骼。
Select your mesh with LMB and change immediately to Weight Paint Mode. The mesh will be colored according to the weight (degree) that the selected bone movement affects the mesh. Initially, it will be all blue (no effect).
绘制心脏的权重。骨骼周围的网格应为红色(通常),随着离骨骼距离变远逐渐根据彩虹色谱淡出到蓝色。
To select a different bone of the armature use Ctrl-LMB, this action will activate the corresponding vertex group and display related weights.
Note
You can only select one bone at a time in this mode (so Shift-LMB clicking does not work).
Tip
If the mesh skins the bones, you will not be able to see the bones because the mesh is painted. If so, enable In Front.
如果在网格上绘制,则会为骨骼创建一组顶点。如果在顶点组之外绘制,被绘制的顶点自动加入到顶点组。
If you have a symmetrical mesh and a symmetrical armature you can use Vertex Group X. Then the mirrored groups with the mirrored weights are automatically created.
Tip
选择变形组
为变形骨骼(在骨架中)进行权重绘制时,可以通过选择相应的骨骼来选择变形组。但是,当选择遮罩处于活动状态时,此顶点组选择模式会被禁用!
粒子顶点组
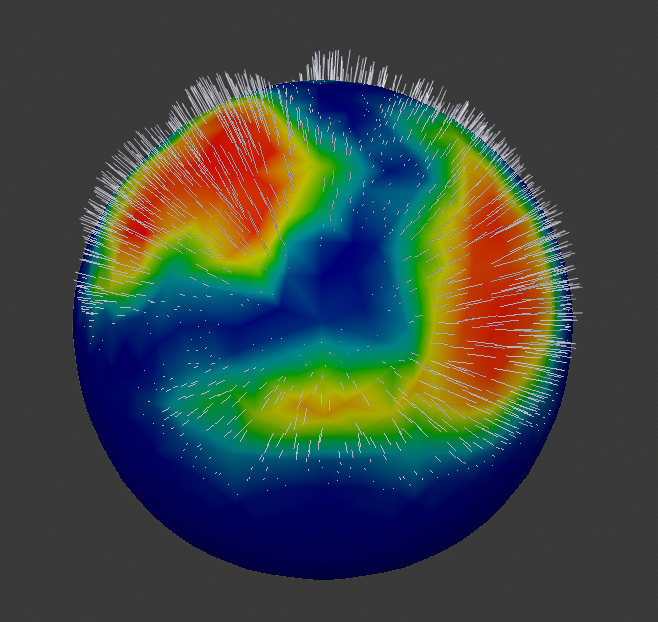
粒子散射的权重绘制。
在示例中,权重为零的面或顶点不会生成粒子。0.1的权重将产生10%的粒子量。此选项 “保留” 指定的粒子总数,在使用实际粒子数时调整分布达到适当的权重。使用此选项,可以通过绘制顶点组的权重使网格的某些部分比其他部分更毛糙,在 顶点组 面板 属性 ‣ 粒子选项卡 中调用顶点组。